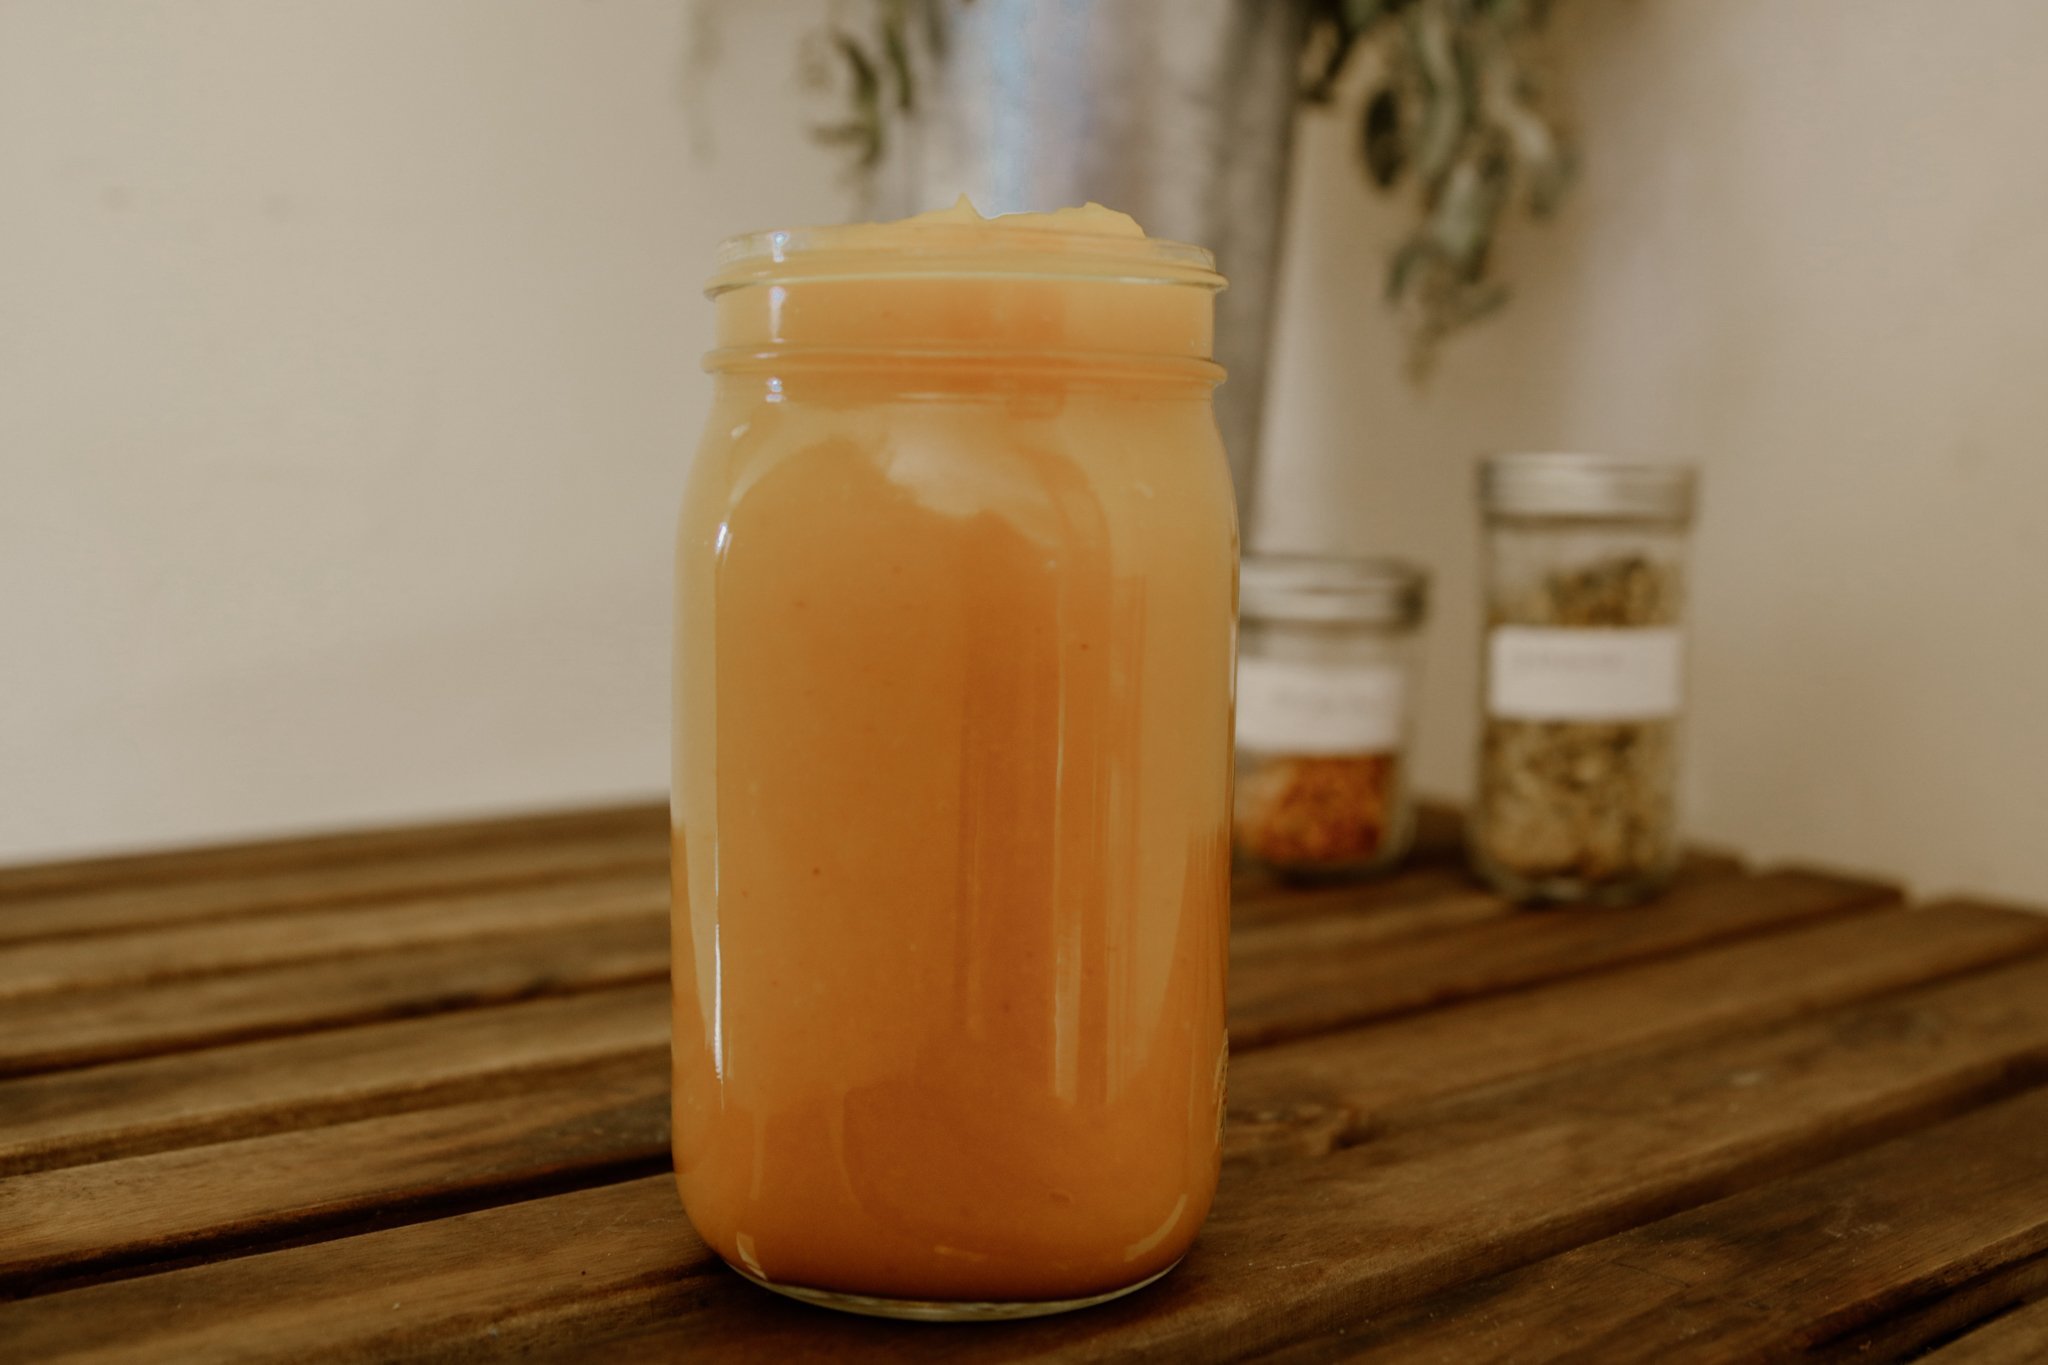
Pumpkin Puree
Is it just me or does this time of the year seem to always bring fun and cozy home gathers with amazing foods? One of the main vegetables that see being used by myself or others pretty often is a pumpkin or some type of squash based dish. They are quite decedent, simple, and dynamic where we can enjoy them either savory, sweet, or even something in between. I wanted to share a little “how to” guide on how to make your own pumpkin puree because honestly, it holds so well, makes the dish you want to use it in taste so much fresher…. and its incredibly easy!
What you will need:
.Oven
. Sheet pan
. Silicon mat /parchment paper
. Large spoon for scooping
.Good knife and cutting board
.Sugar pumpkin- medium or small
.High speed blender
.Oil for brushing (or the good ol fashion way…use your hands)
Start by preheating your oven to 375 and line your sheet pan with the mat or parchment paper.
Carefully, using your knife, cut the pumpkin in half. I have found it easiest to go in from the side and then down through the bottom and back up through the top
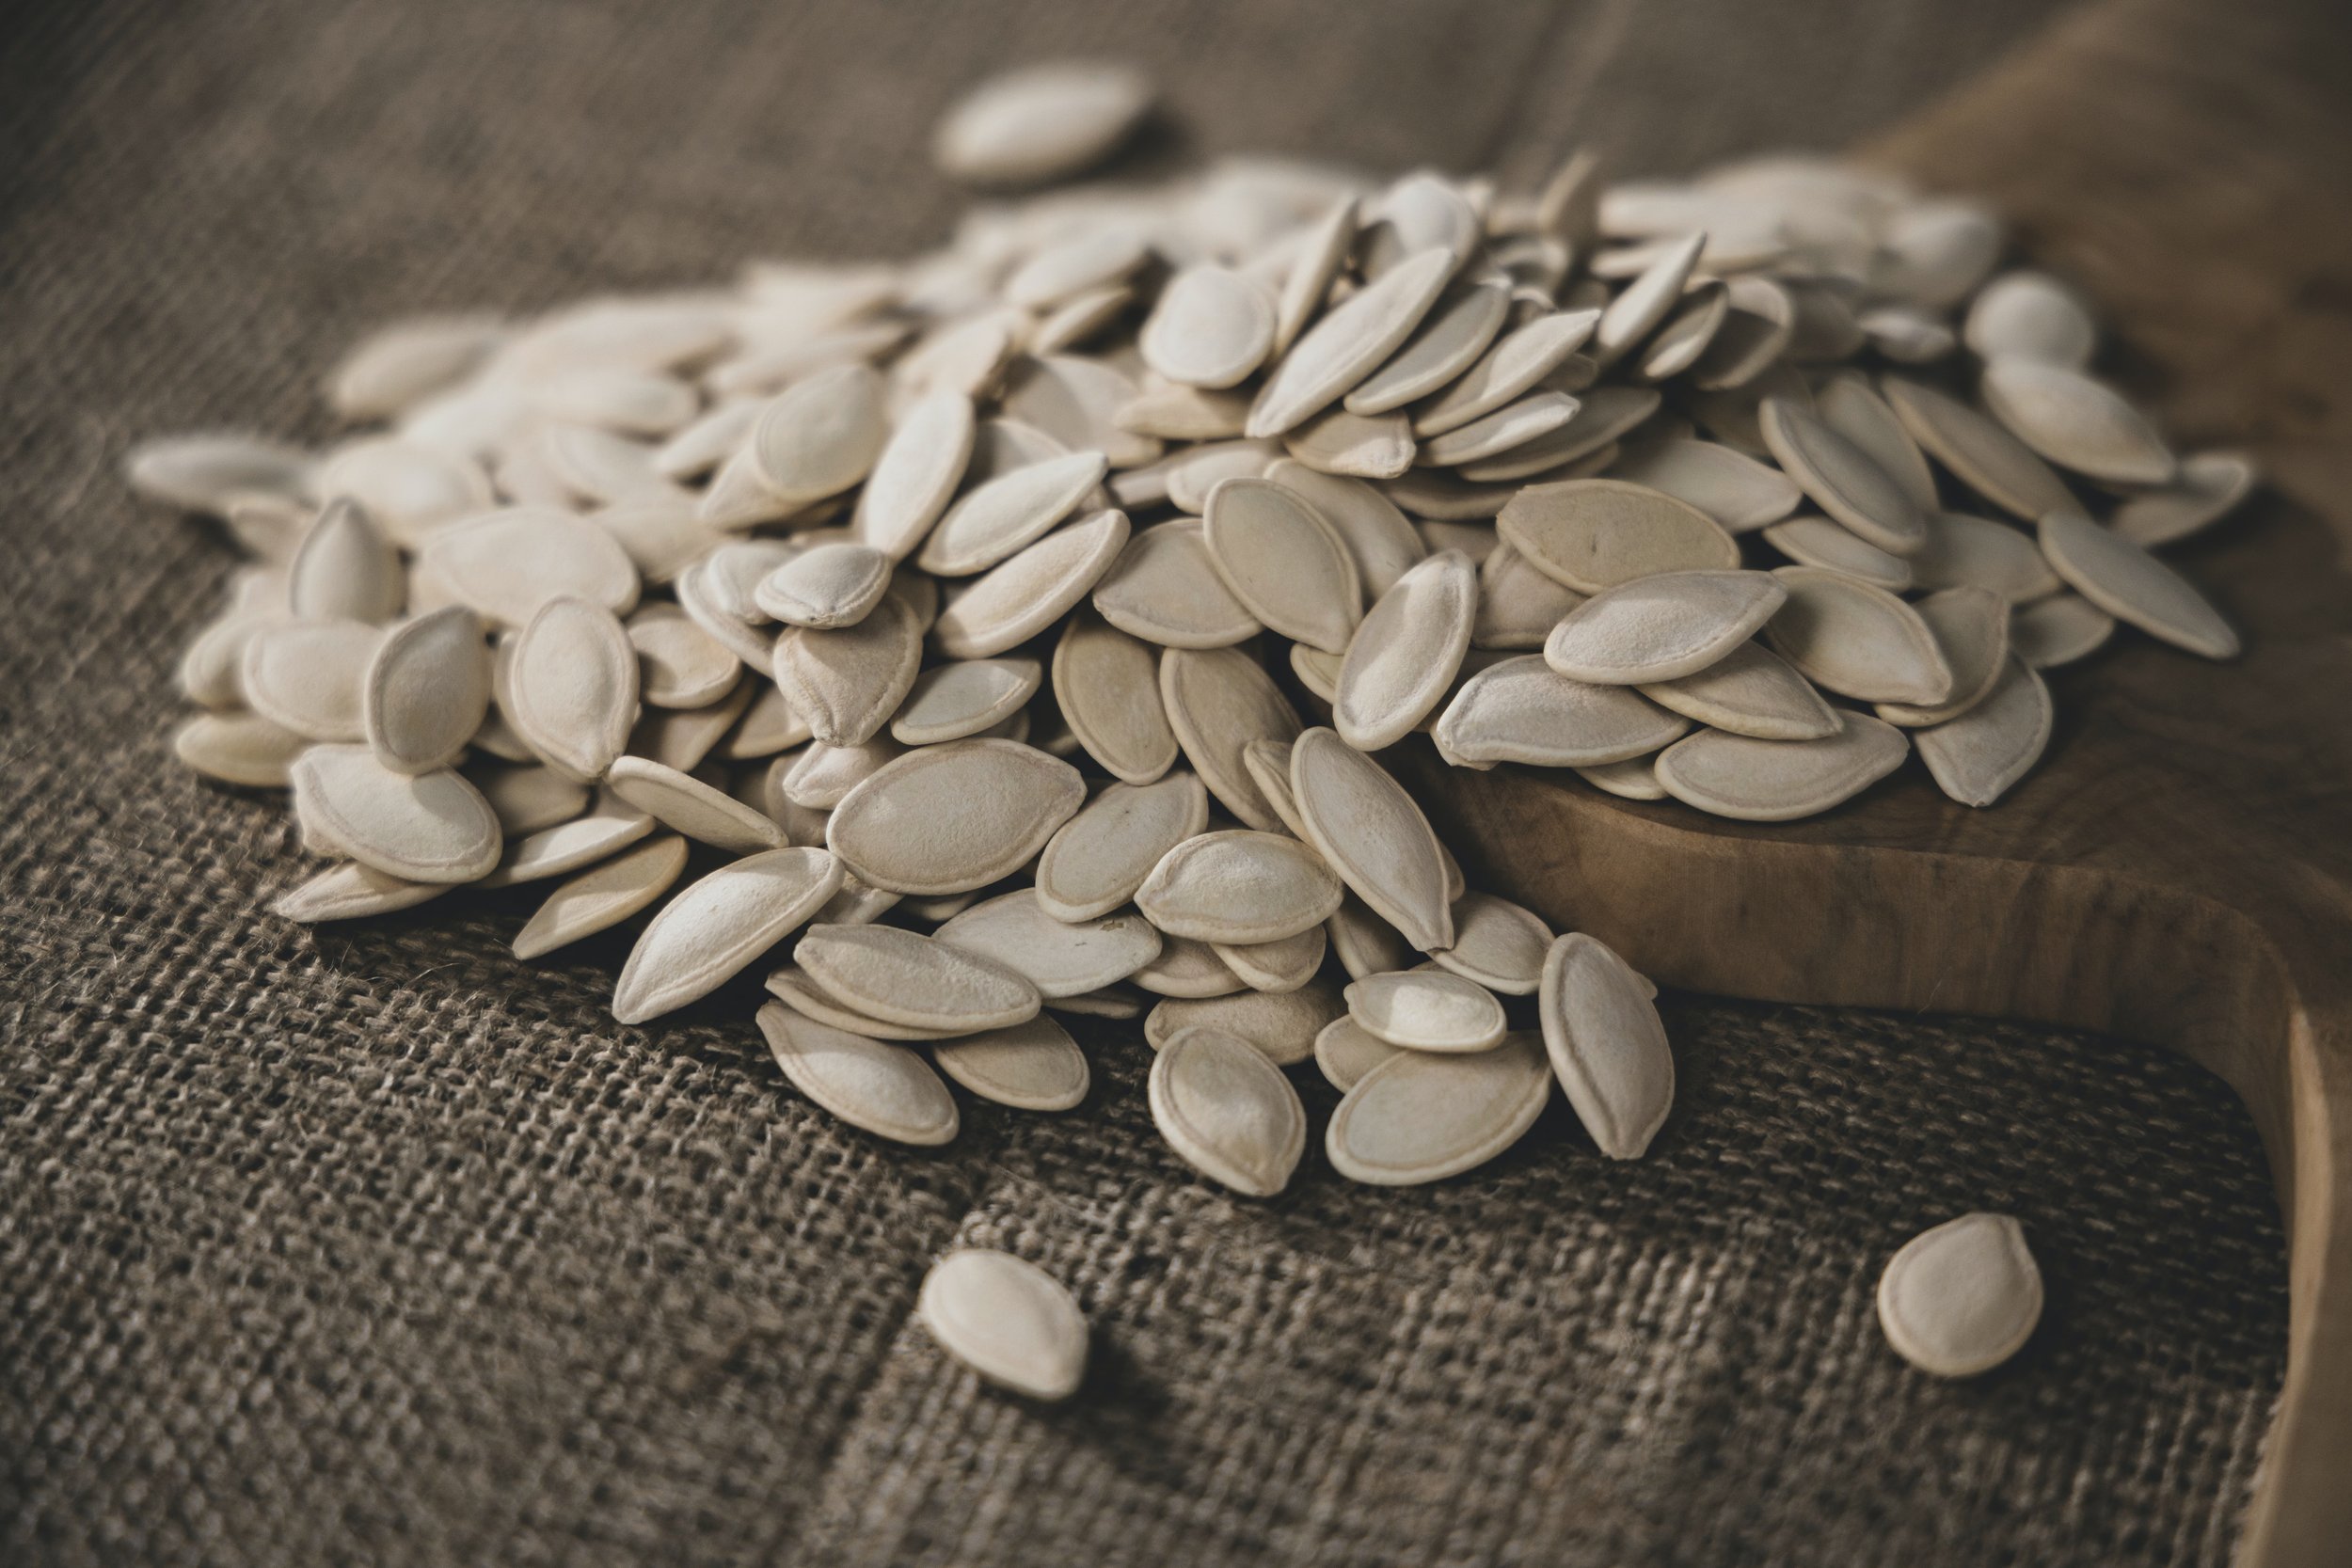
Scoop out the seeds (keep them!) and then place the two halves of the pumpkin facing down on the sheet pan.
Take the knife and make a couple small slashes, making sure you don’t go too far into the pumpkin. Another option you can do here is to brush the back of it with coconut oil to lock in more moisture, this is not a necessary step.
Bake in the oven for 35-45 minutes or until the skin changes in color and a fork can easily pierce through the skin.
Wait till it cools completely and then remove the flesh and place it into your high speed blender.
Puree until smooth and store in the fridge for up to 7 days. You can also freeze the filling but make sure the jar is sealed completely so no ice crystals creep inside.
What to do with my pumpkin puree??
Here are some fun ideas of what you can use this for:
Pumpkin pancakes, pumpkin mac n cheese, pumpkin muffins, pumpkin pie (check out my non baked one that is vegan and gluten free in the autumn section), pumpkin soup, pumpkin smoothie, pumpkin drink elixir, pumpkin oatmeal, and pumpkin cookies.
Seed saving;
If you or someone you know has a green thumb and would like to grow sugar pumpkins (or another squash) next year, saving your seeds from your squashes is a fun and easy way to do that.
Take the seeds from the pumpkin and try to separate them from the pulp with your fingers then place them in a cauldron under the sink. Rinse them until clean, trying to get as much pulp off as possible. Inspect the seeds and pick the larger and healthy looking ones, they most likely have more luck with germination. Spread the seeds on a sheet of wax paper, not touching one another, and allow them to dry over night in a dark and dry area. I do want to say that using wax paper is important. When I first started out, I used paper towel and this can work but if you don’t check them and move them around often, they ended up sticking to the towel and become quite difficult to separate. Using the wax will help save your seeds and keep them in their prime condition.
In the morning, give them a gentle shuffle with a spoon and then re-spread them out. Keep them in the dry and dark place for at least 1-2 weeks. Once they are fully dry, separate the ones that are mildewy or moldy from the ones that are clean and scoop the nice ones into a envelope or small paper bag. A plastic bag will hold too much moisture and could spoil the seeds. Make sure to label and date your bag and store them somewhere dark and safe.


